Kaunter in 12 steps
From install to your first bill takes about 15 minutes. Stuck anywhere? WhatsApp Kaunter support or write to [email protected].
1Install on the shop phone
Android: open kaunterapp.com/app/ (or tap “Free trial” on this website) in Google Chrome. Tap ⋮ → Install app (or “Add to Home screen”). Kaunter now opens like any other app — even with no internet.
iPhone: open the link in Safari → Share → Add to Home Screen. (Bluetooth printing needs Android.)
Tip: in phone settings keep Date & time → Automatic on.
2Start your free trial
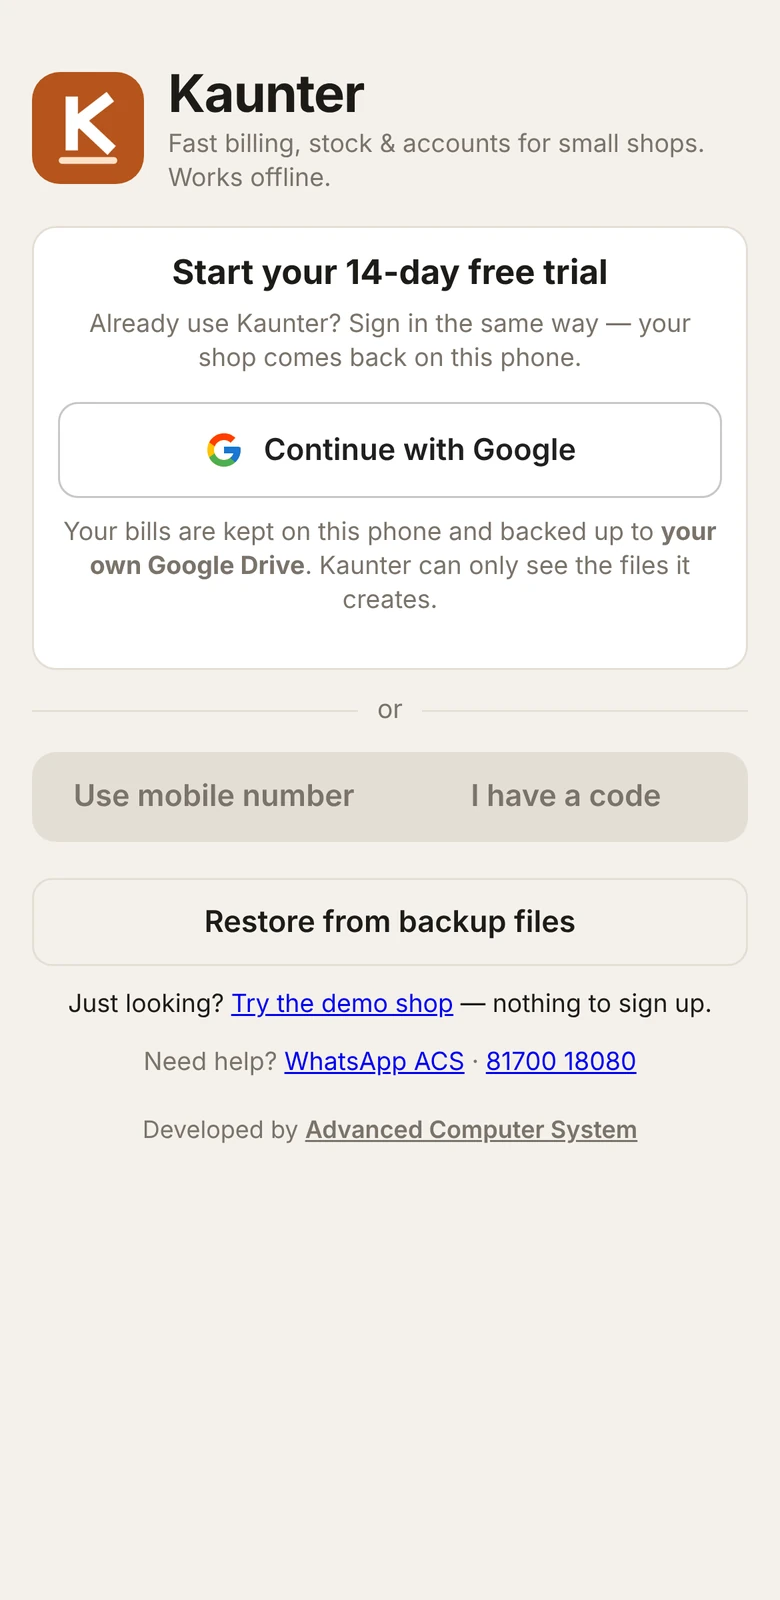
Tap Continue with Google and choose your Gmail. Then add your mobile number and shop name, tick the box and start. You get every feature free for 14 days. Your backups go to a “Kaunter backup” folder in your own Google Drive — Kaunter can only see the files it creates.
New or replaced phone? Tap Continue with Google with the same Gmail, pick your store, and your data comes back. No Gmail? Use Use mobile number; a store set up for you uses I have a code (each code works once, for 48 hours).
Want to look around first? Open the live demo — a tea stall with a week of sample bills — without touching your own shop.
3Set up the shop & owner PIN
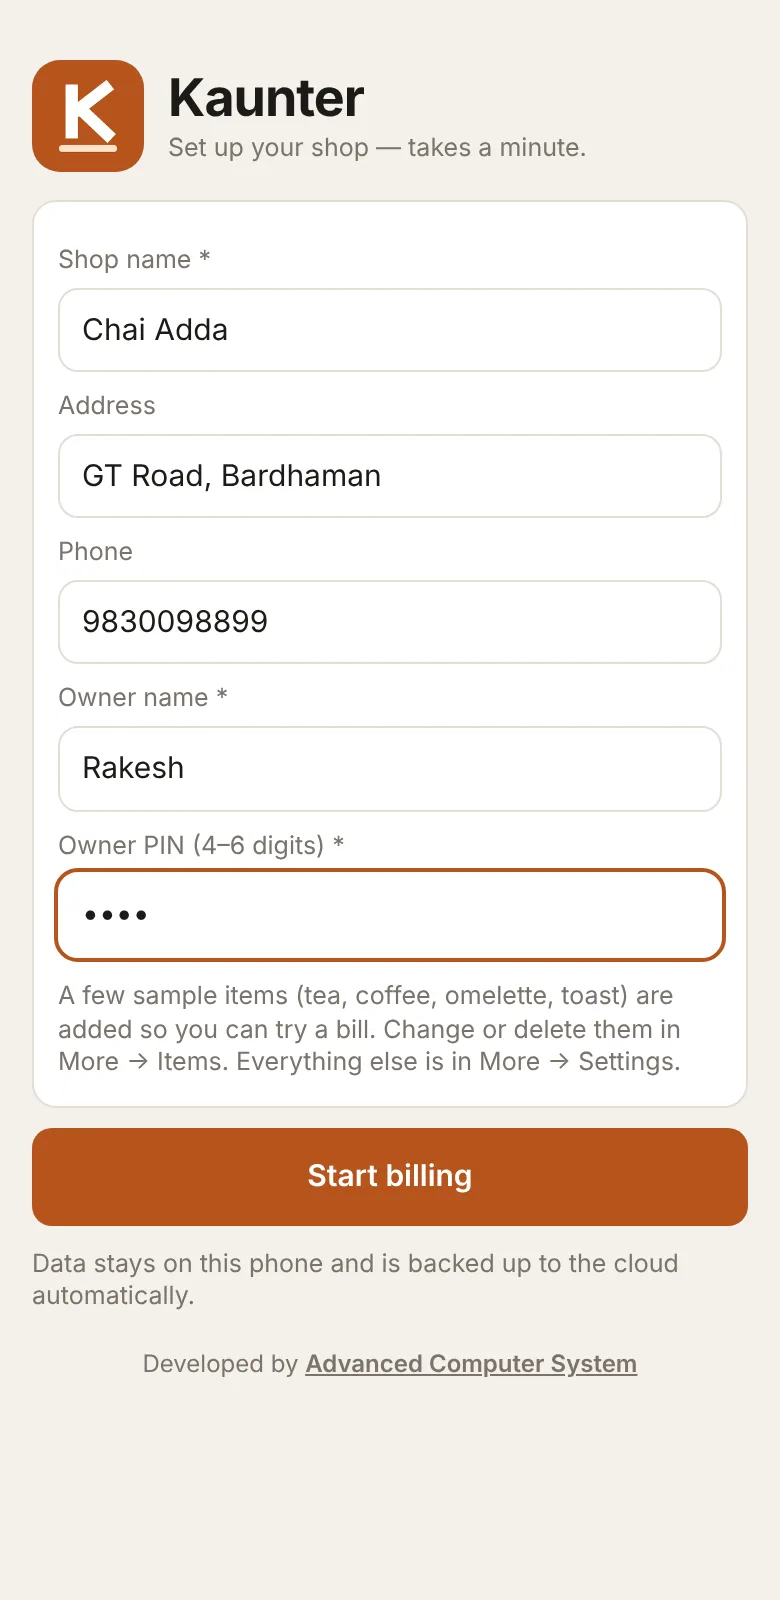
Enter the shop name, your name and a 4–6 digit owner PIN. A few sample items (tea in two sizes, coffee, omelette, toast) are added so you can try a bill straight away — change or delete them in More → Items and add your own menu.
Sell some items both loose and by the pack? Turn it on in More → Settings → Modules. Stock is then counted in pieces and billing asks Loose or Pack.
4Add your items & prices
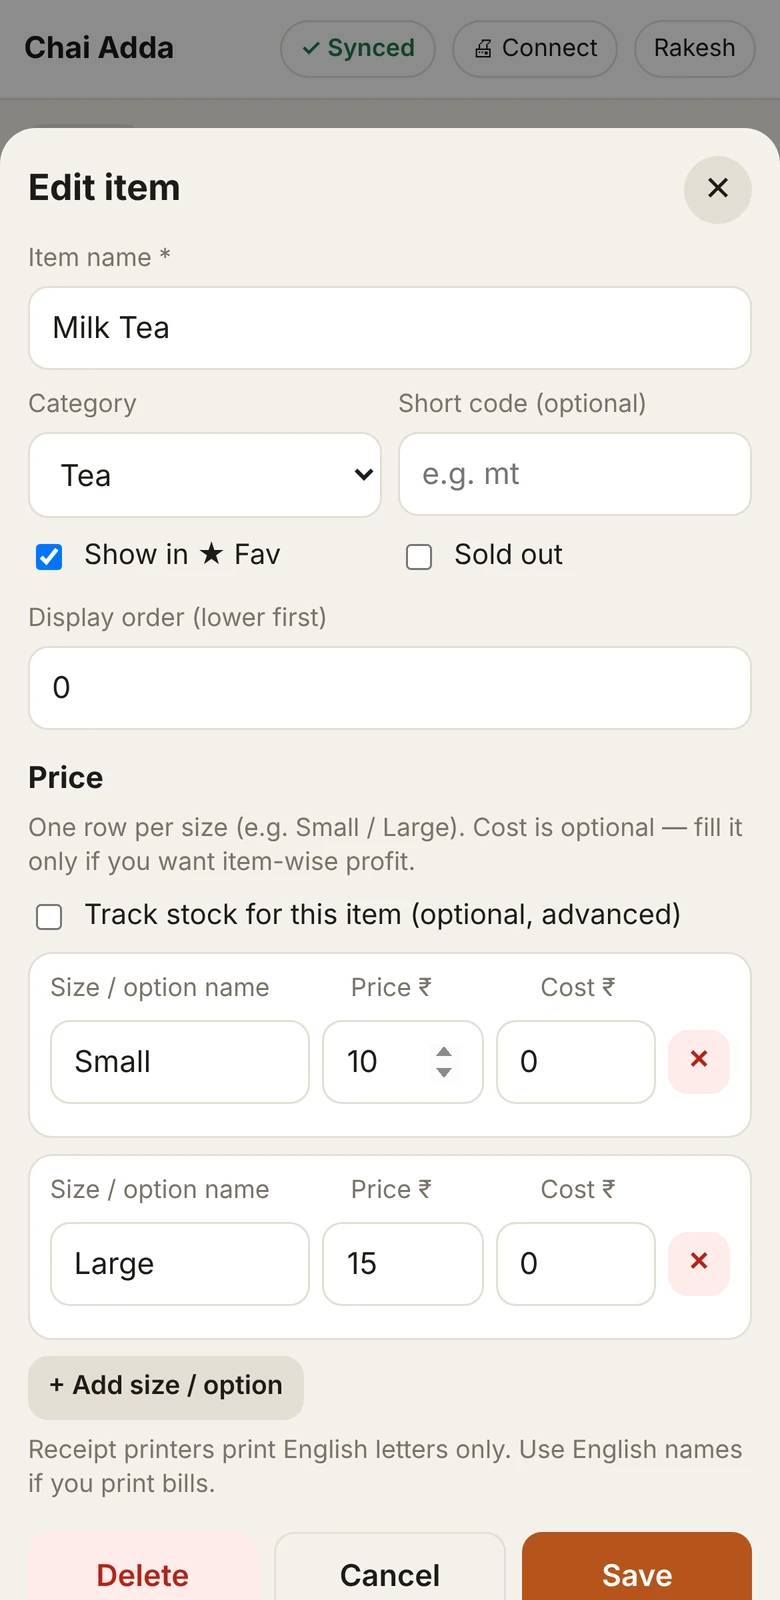
More → Items (menu). Tap an item to change its name, price or sizes (Small/Large), mark it a favourite ⭐ (it shows first), or mark it sold out. Add categories like Tea, Snacks, Drinks.
Want stock tracked for an item (cold drinks, biscuits)? Turn on Track stock in the item and link it to a stock item.
5Make a bill
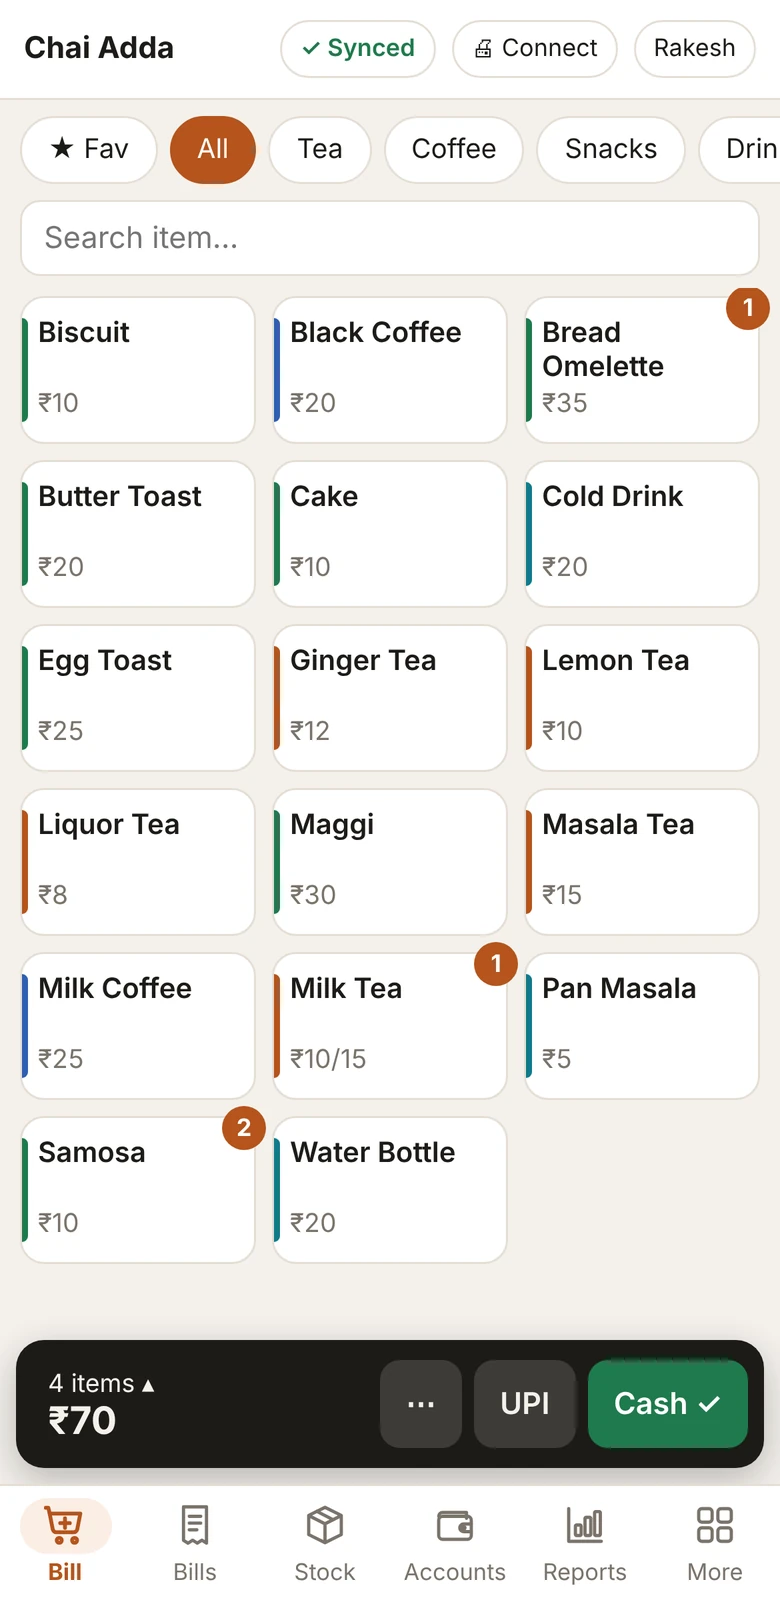
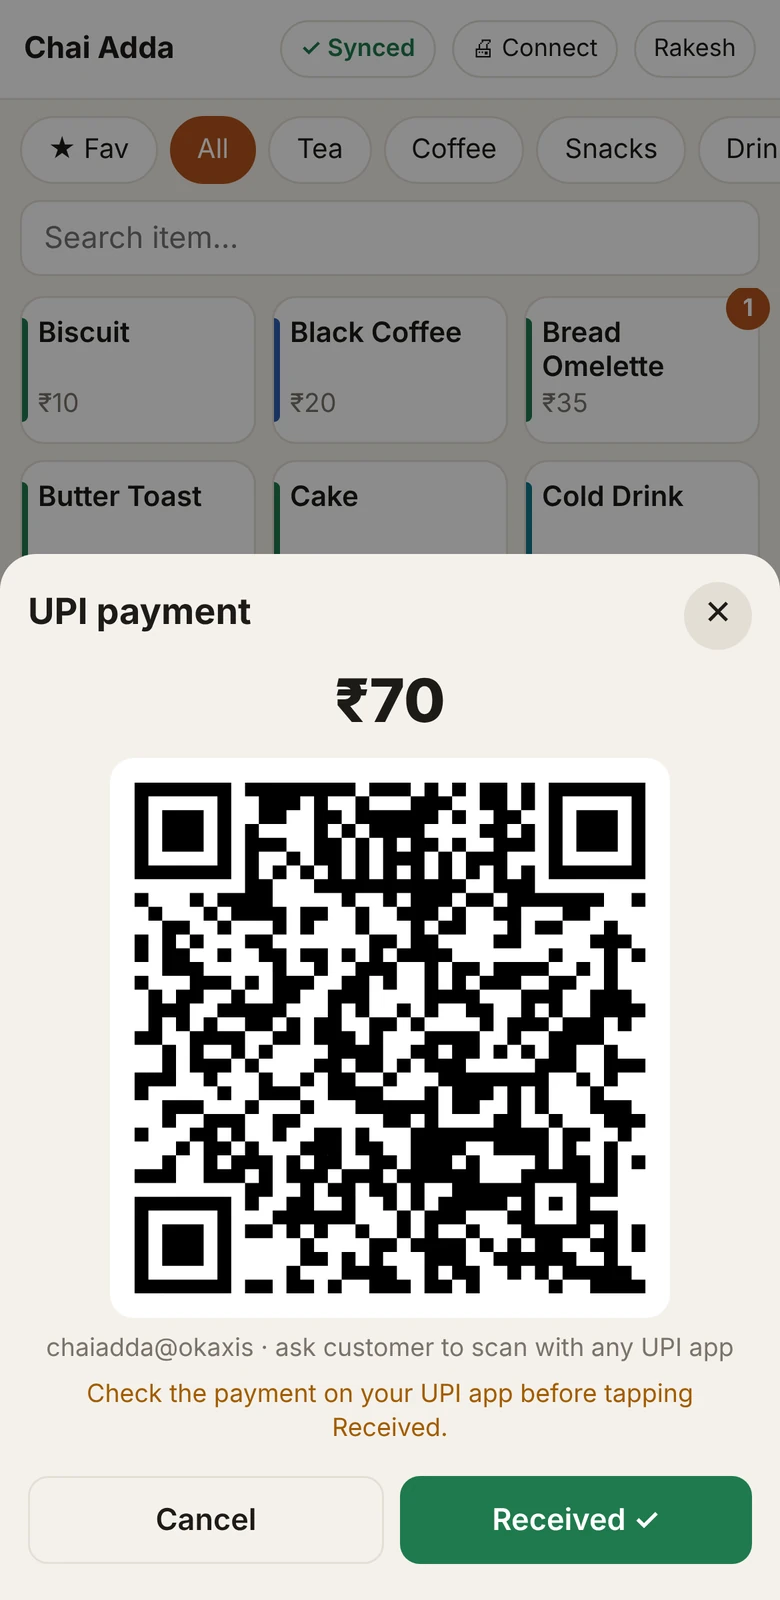
Tap items to add them. Long-press an item for quantity or a note (“less sugar”). Then tap Cash ✓ or UPI ✓ — the bill is saved, printed and the token number is shown.
Use ⋯ for credit (udhaar), split payment, discount, parcel or a preview. Hold keeps an order aside for a table while you bill others.
6Connect the printer
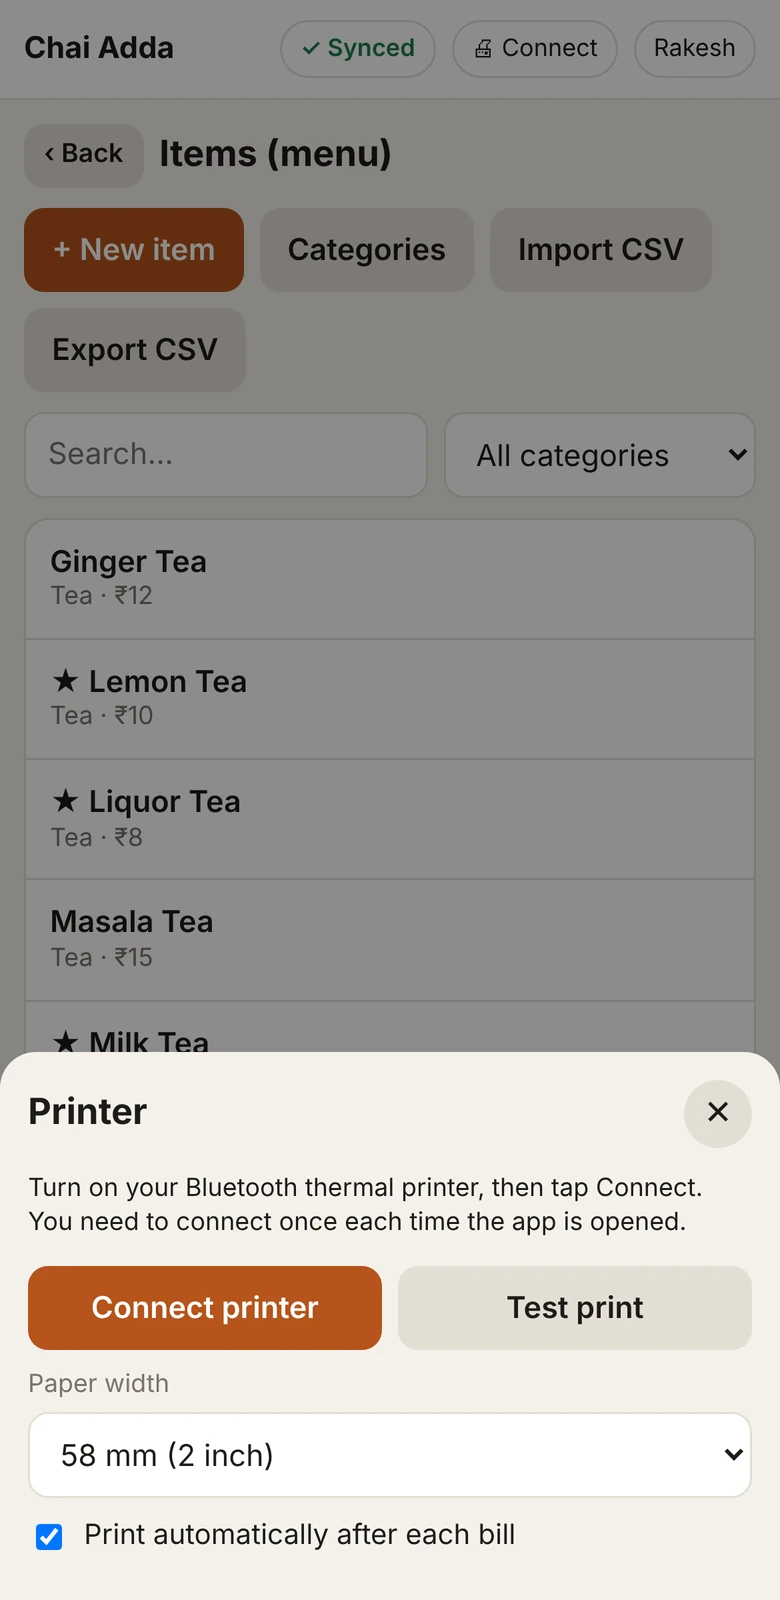
Switch on the Bluetooth thermal printer, tap 🖨 Connect at the top and pick it. Choose 58 mm or 80 mm paper. Add your logo in More → Shop settings.
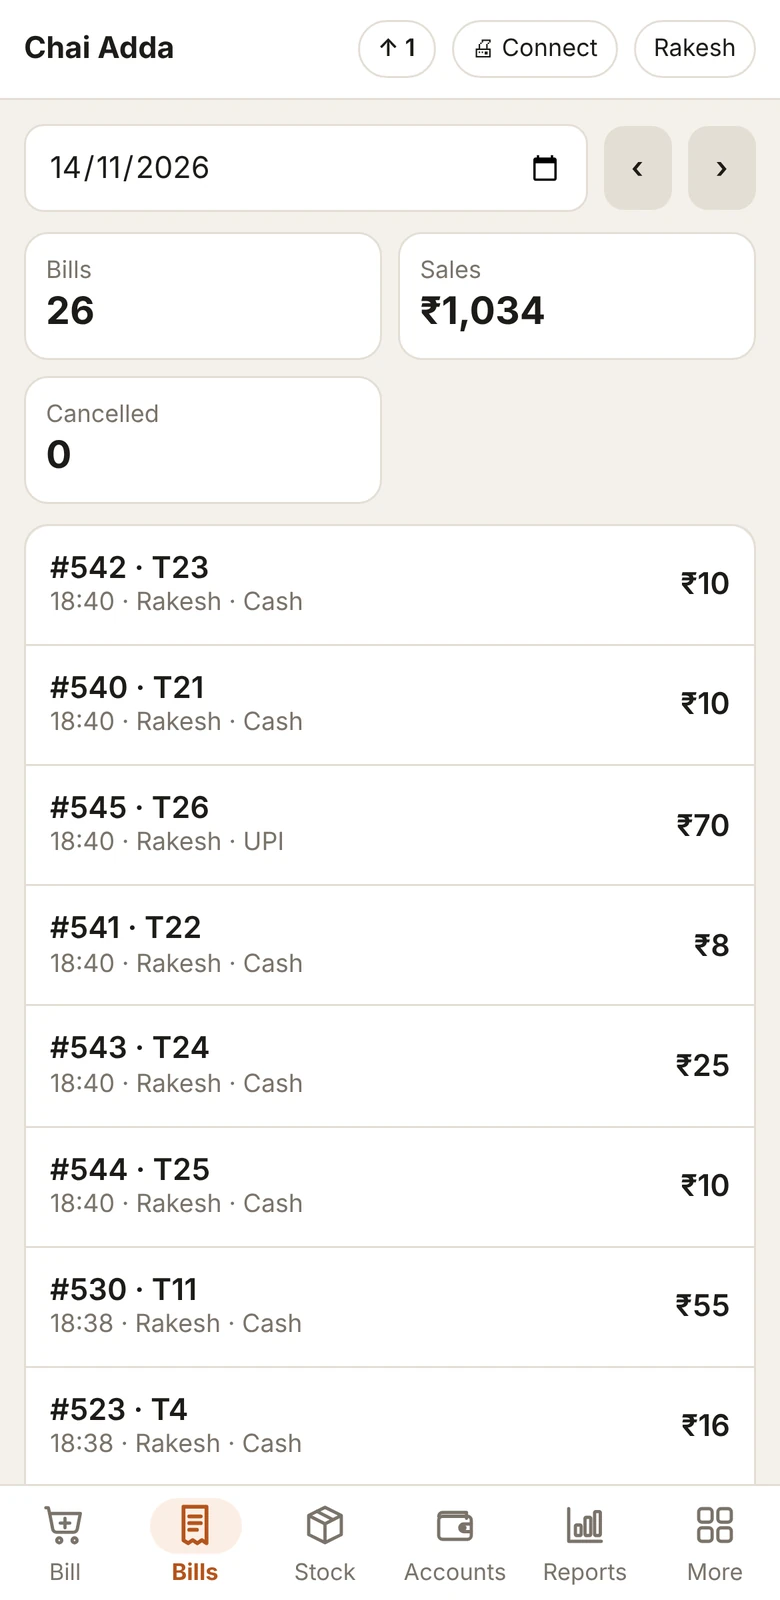
No printer? Send the bill on WhatsApp from Bills.
7Add staff with their own PIN
More → Staff & PINs. Cashiers can bill and take payments; waiters can only take orders. Only the owner sees reports, settings and can cancel bills (you can change this in settings).
8Open and close the shift
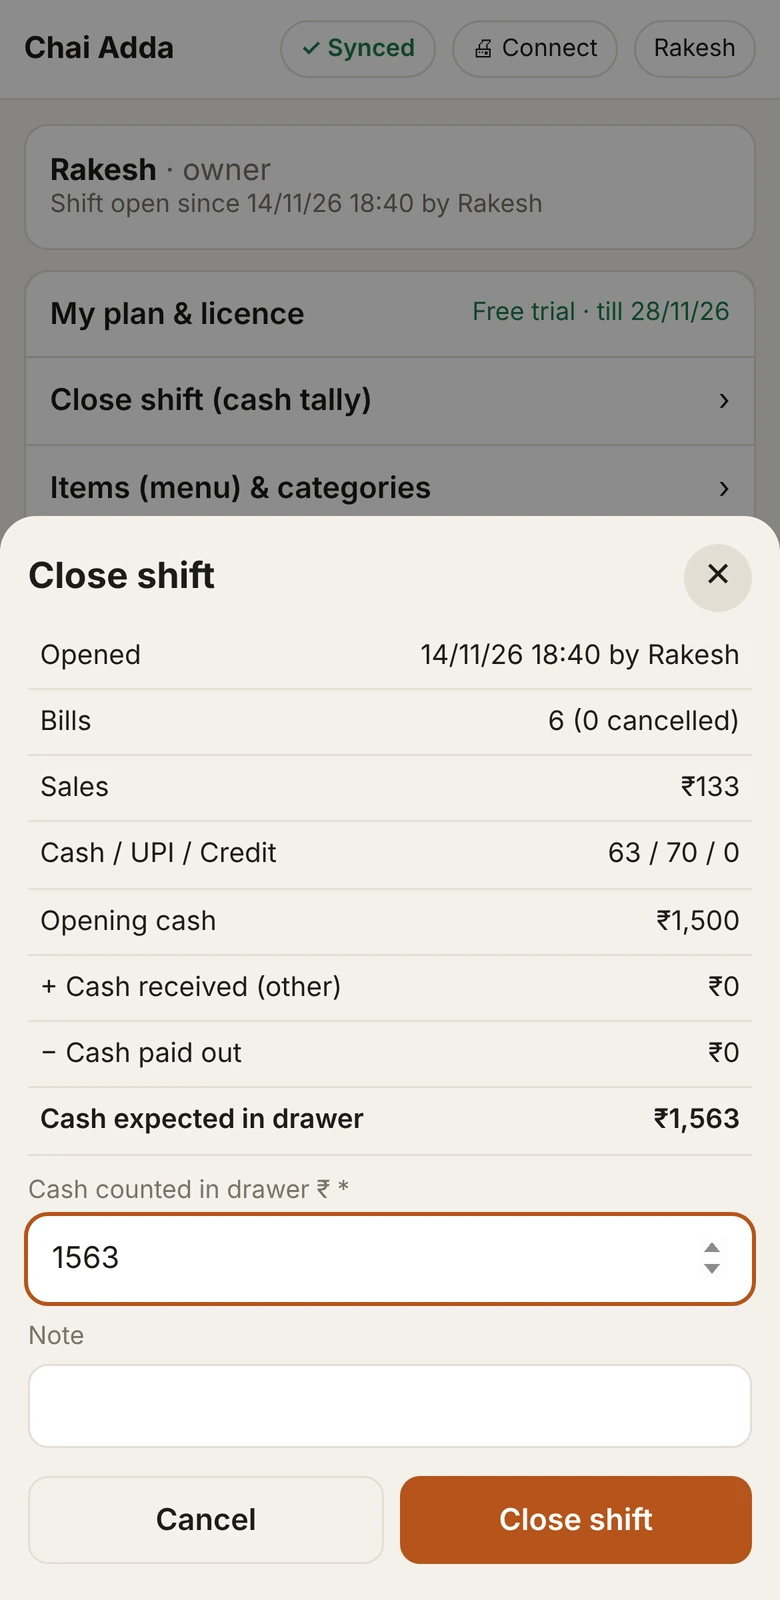
Count the cash when you open the shift. At closing, tap More → Close shift and enter the cash in the drawer — Kaunter shows if it is short or extra, and prints the shift report.
9Purchases, stock & expenses
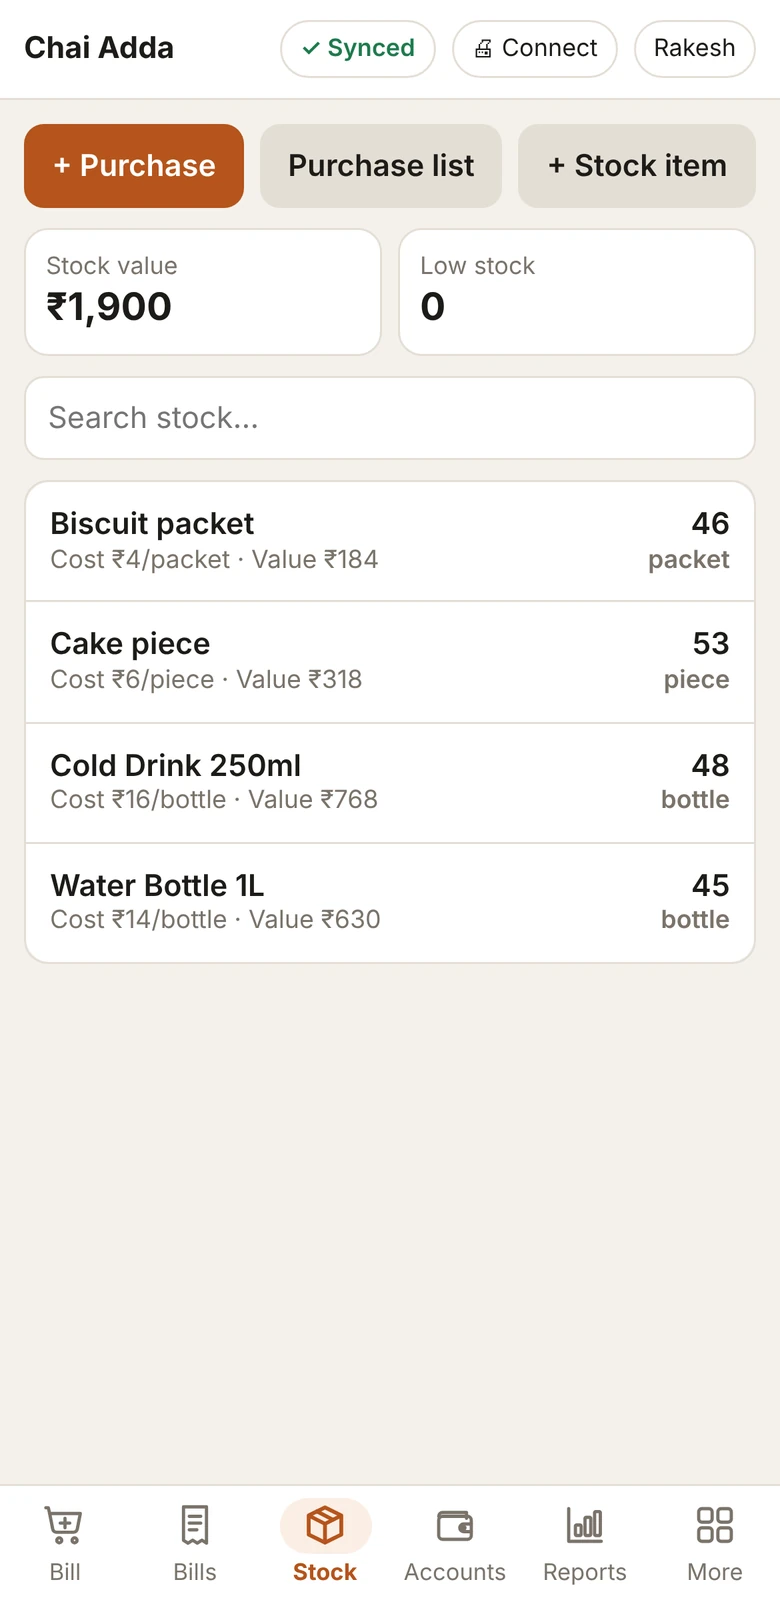
Stock → + Purchase adds stock and pays the supplier (cash, UPI or on credit). Accounts has expenses (milk, gas, rent), money received from credit customers and payments to suppliers.
10See reports
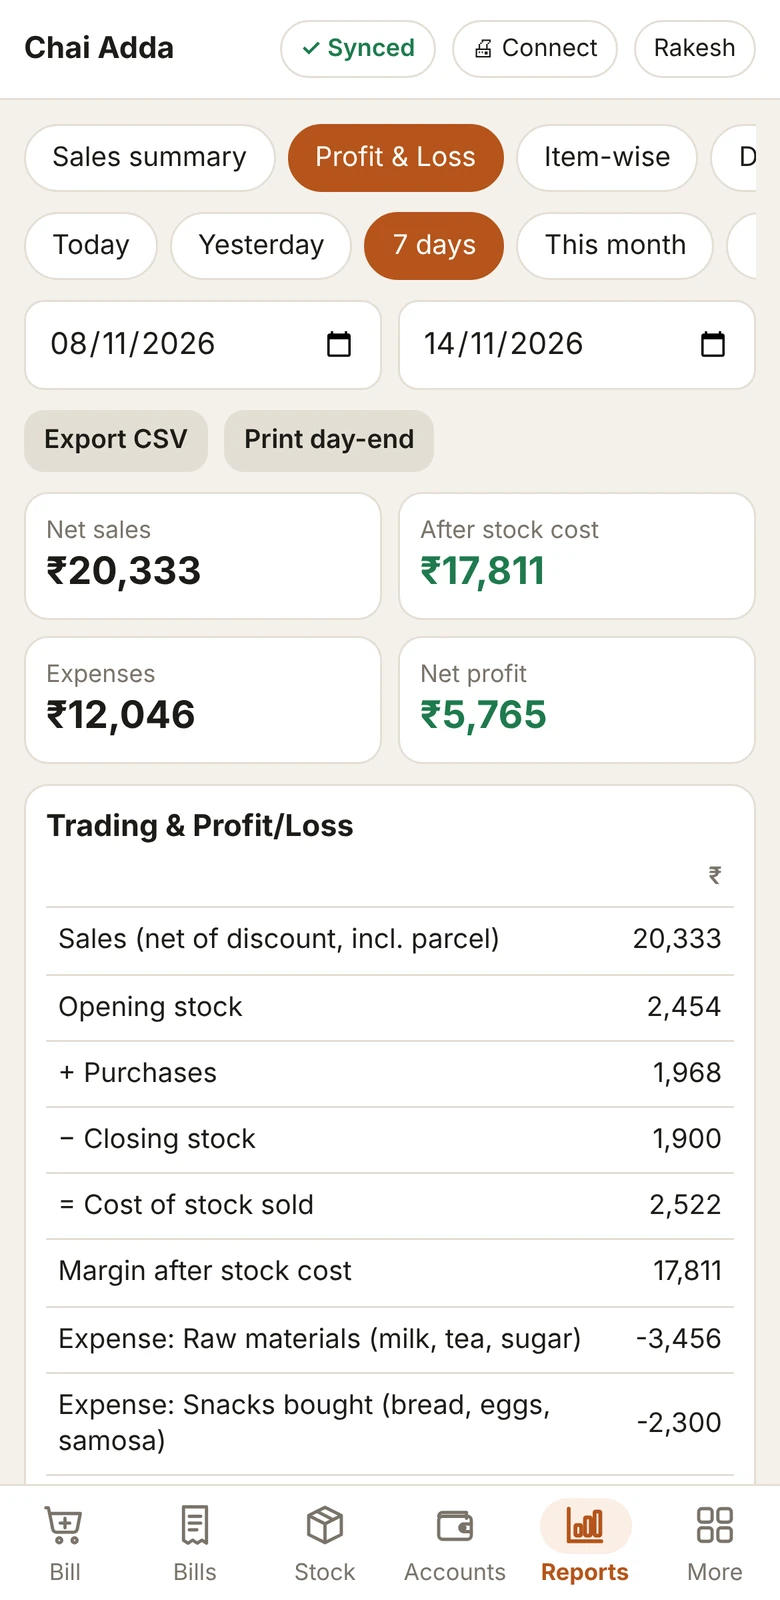
Reports: today’s summary, profit & loss, item-wise sales, day book, cash book, stock, outstanding and staff-wise sales. Export to Excel / Busy / Tally from More → Backup & export.
11Owner view, backups & branches
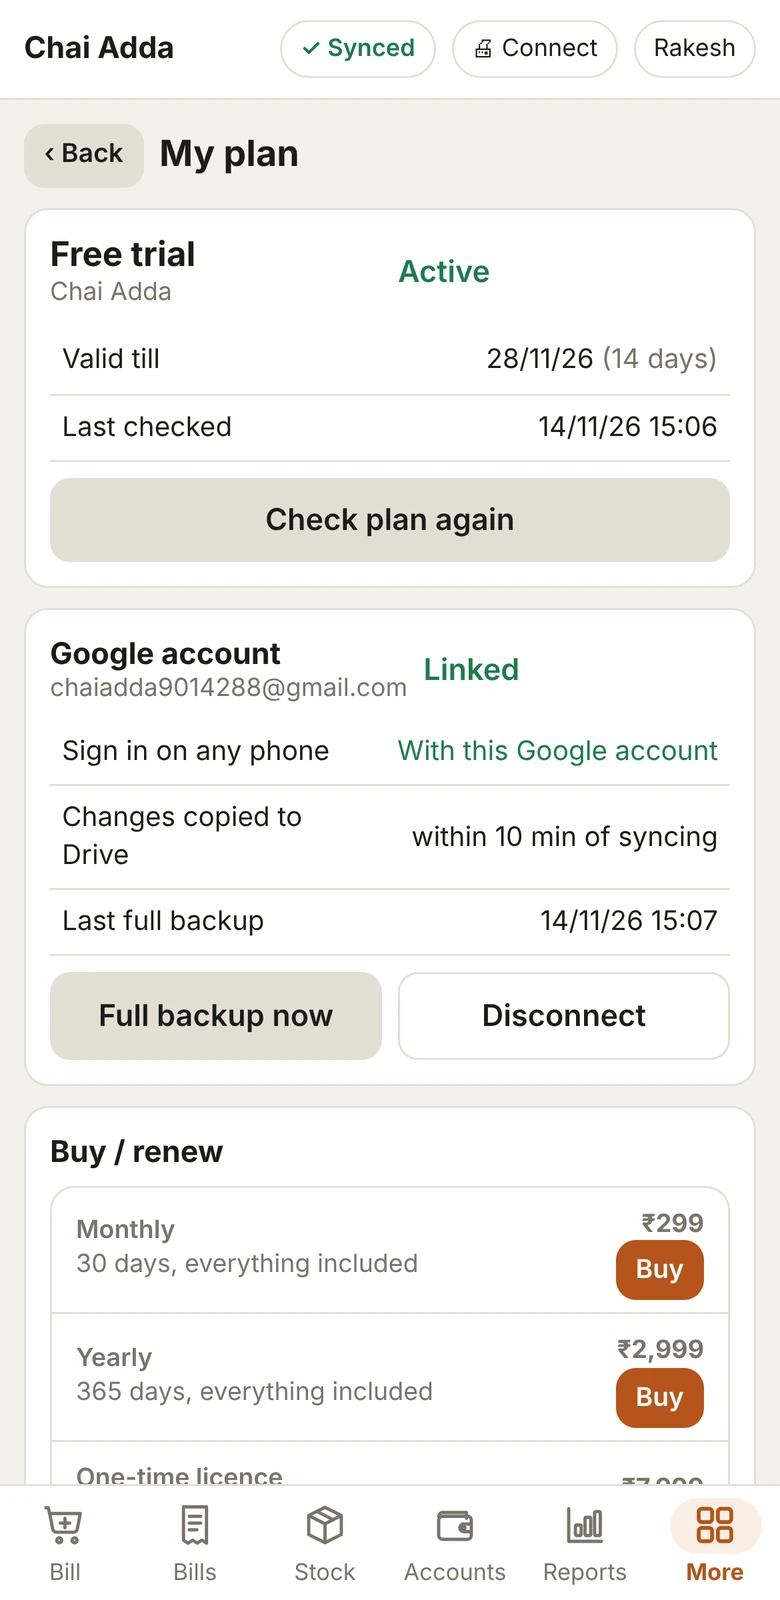
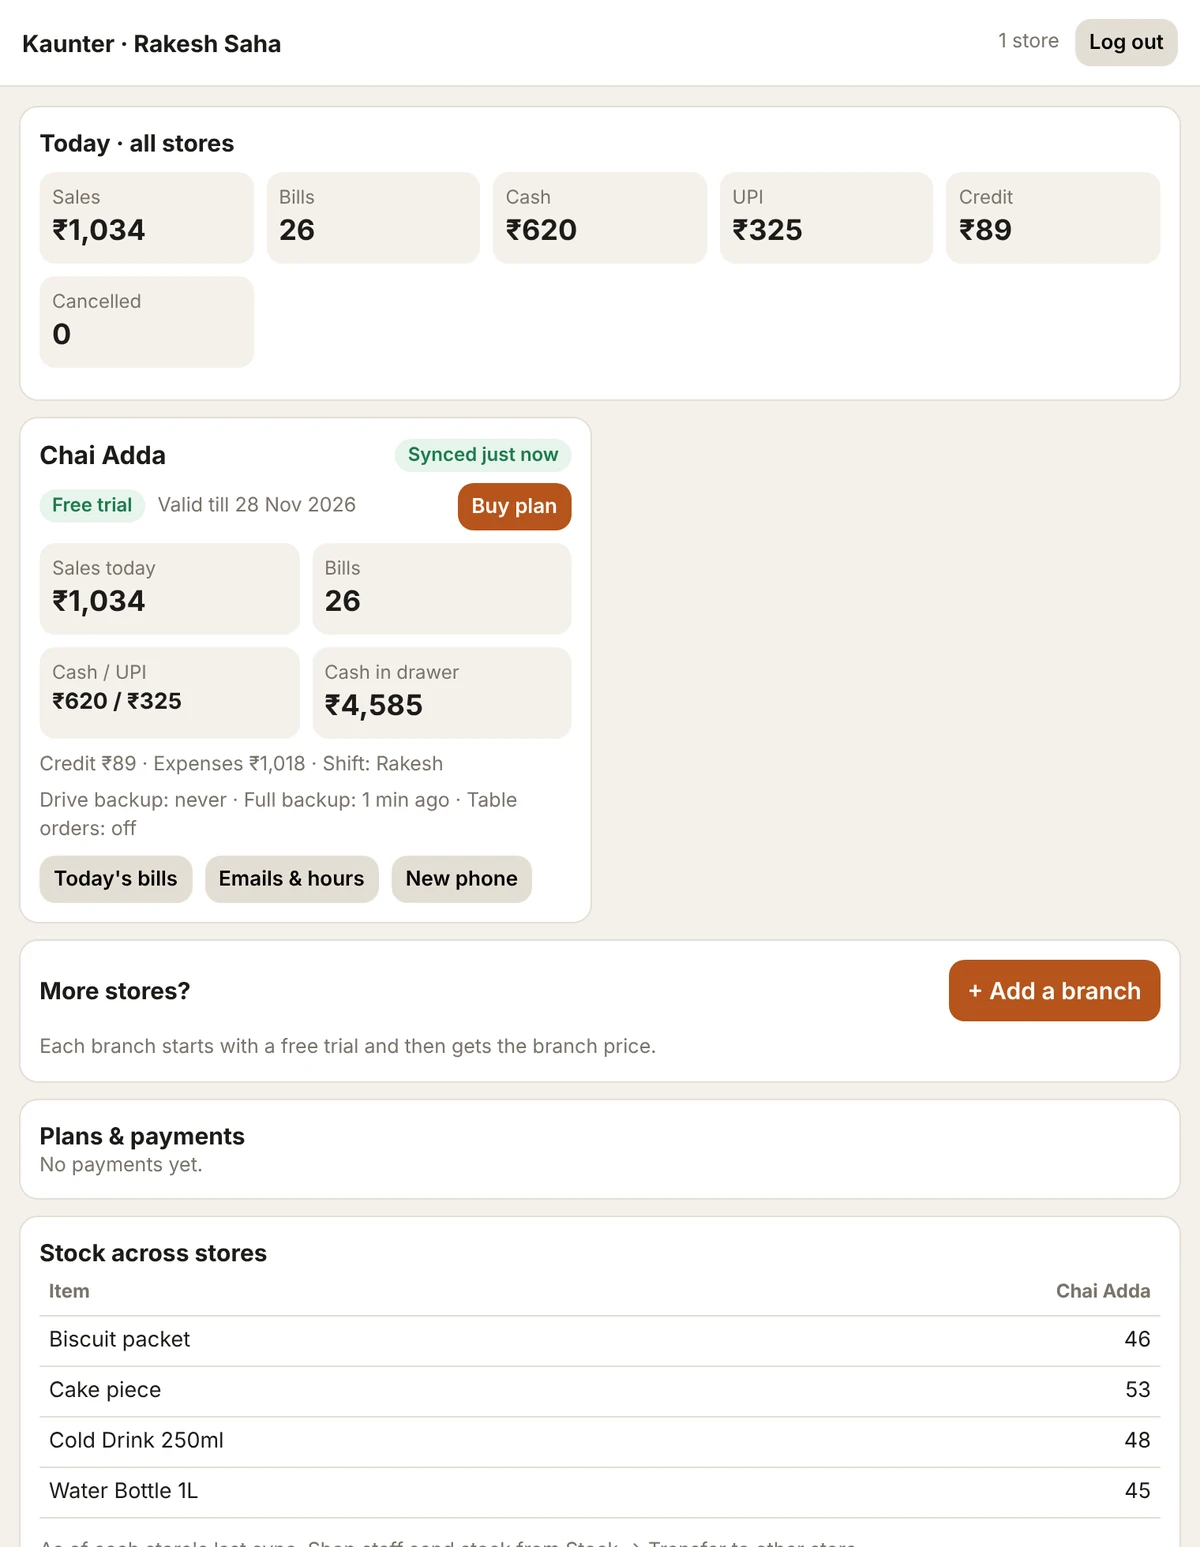
Open More → My plan → Owner dashboard on your own phone (bookmark it). See every store live, today’s bills, alerts and stock across branches. Sign in there with the same Google account. Changes are copied to your Google Drive every 10 minutes with a full backup every week; turn on the daily sales email (off to start with) and add more emails in ⚙ Emails & hours.
Another store? More → Stores on this phone → + Add a store. Open it on the same phone (each store keeps its own items, stock and bills; switch with ⇄) or on its own phone with Continue with Google or the code. Pay for any store from the Owner dashboard → Buy.
12Buy or renew your plan
More → My plan: choose a plan, pay by any UPI app, and enter the 12-digit UPI reference (UTR). We confirm the payment and the plan updates on the phone by itself. Your invoices are kept here too.
If a plan ends, nothing is lost: the app becomes view-only until you renew.